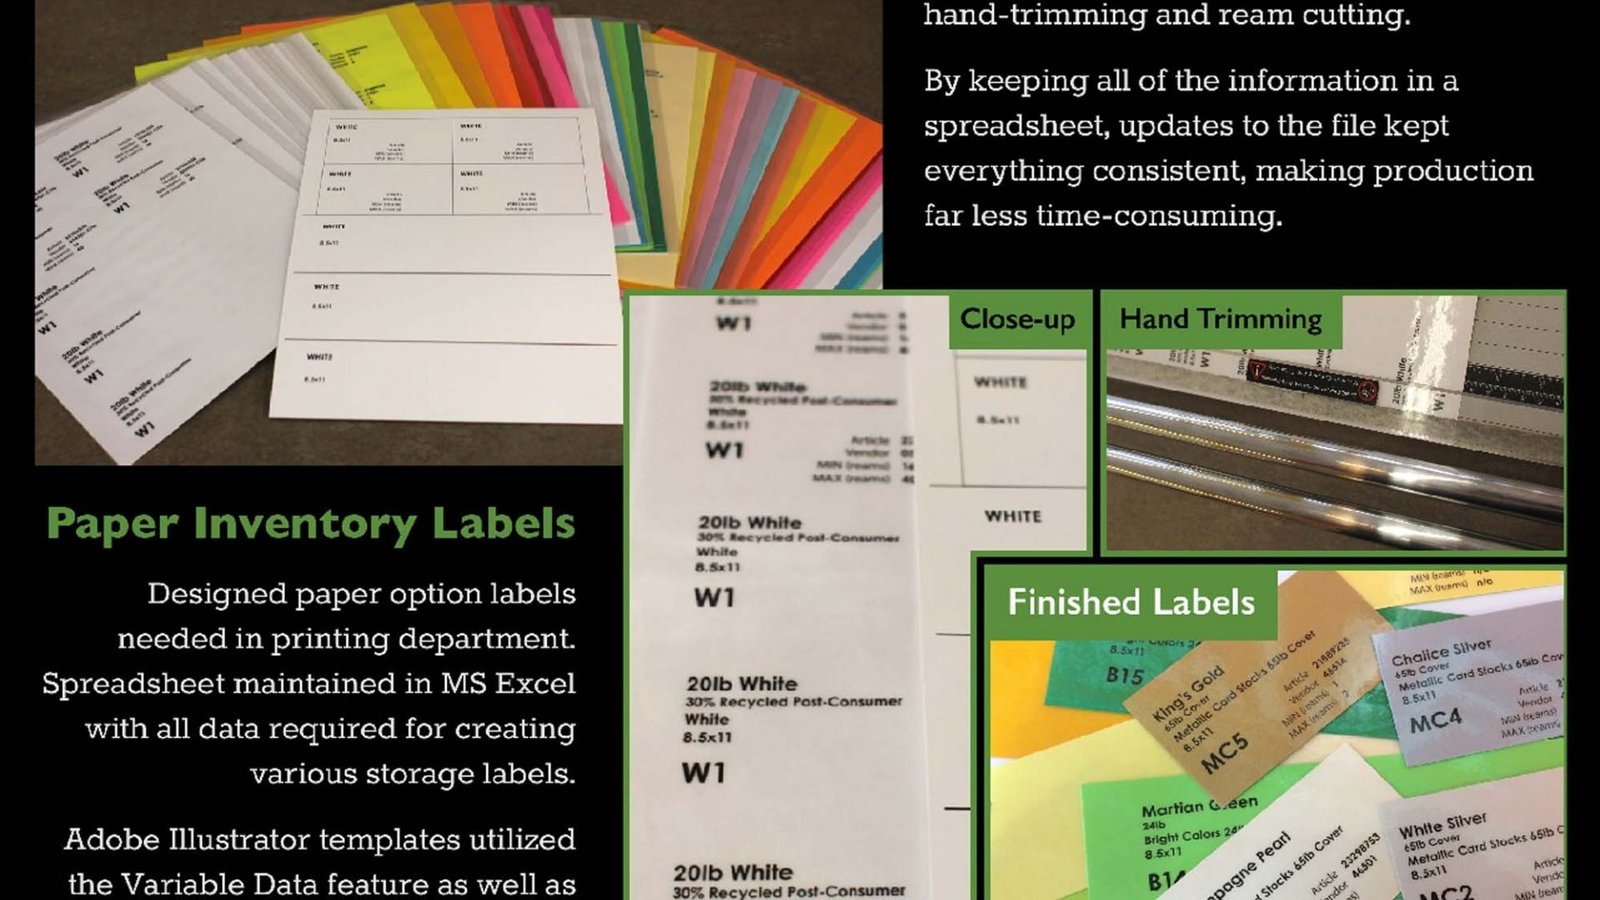

Data-Driven Inventory Labels
Step-by-step for creating templated inventory labels with all data kept in external spreadsheet.
Over a period of time, the paper options utilized in my printing department were changed but none of the accompanying support documents were updated to reflect these changes. I created the following workflow to create and manage the various changes and also be used for other inventory:
- A spreadsheet was created and maintained in MS Excel with all data required for creating various storage labels as well as article information for placing inventory orders.
- A template was designed in Adobe Illustrator utilizing the variable data features as well as Transform function for multiple layout options.
- Separate PDF files for each article were output from Illustrator.
- The PDF files were all combined together into multi-page file for printing.
- Upon printing, lamination was added to each paper sample
- Hand-trimming of two edges of each sample was the first step in cutting to create consistent alignment for the final action.
- A ream-cutting machine was used for each additional cut to finalize the different label options.
By keeping all of the information in a spreadsheet versus creating individual documents, I could update the file with all inventory items for the department and then create templates for the actual labels needed, keeping everything consistent and making production far less time-consuming.
There are a multitude of articles that I researched to be able to do this project, so following are those that were most helpful to my process:
Adobe Support: Data-driven graphics through templates and variables