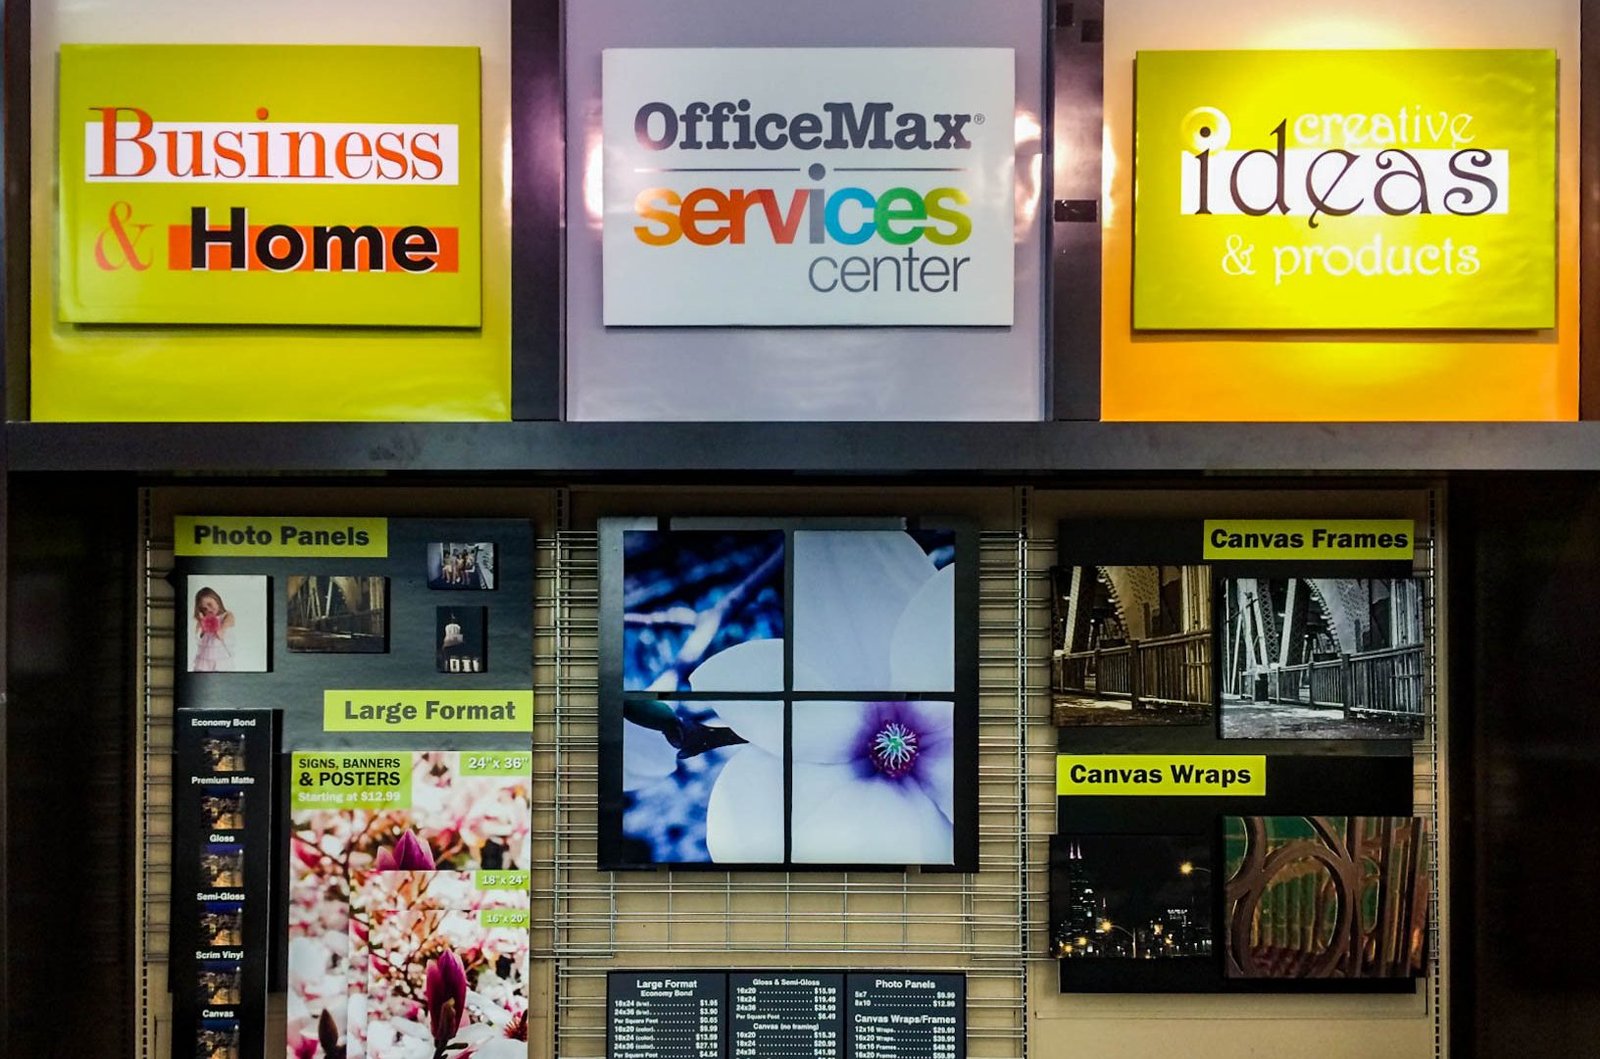
Specialty Printing Display
Re-purposing a display area by designing, printing and producing all items to showcase specialty print products for the store’s printing department.
Scenario
The area was previously used for the ink refill station but the machine stopped functioning and the decision was made to no longer offer said service. I designed a new layout and content for the space.
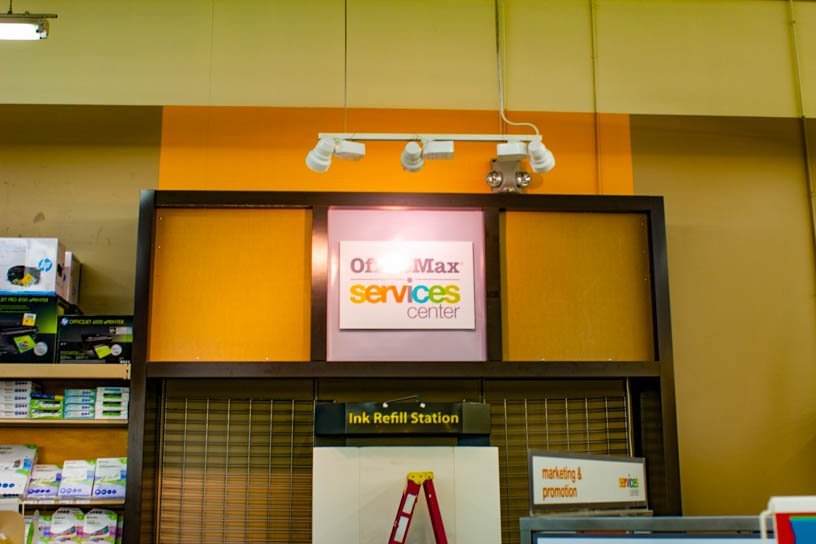
Original Space

Original Ink Machine 
Original Ink Machine


Process…
- Measure Space
- Layout & Design
- Content/Photography
- Large Format Backgrounds
- Multiple Foam Core Pieces
- Applying Hook & Loop (Velcro)
- Mounting Processes
- Final Assembly
Detailed steps and more images of this project are available in the “Specialty Printing Display – Development” Creative Journal article.
Original Photography for Project


Measuring… 
Master Design 
Precision Cutting 
Small Foam Core Risers 
Completed Riser 
Large Format Multi-Piece Prints 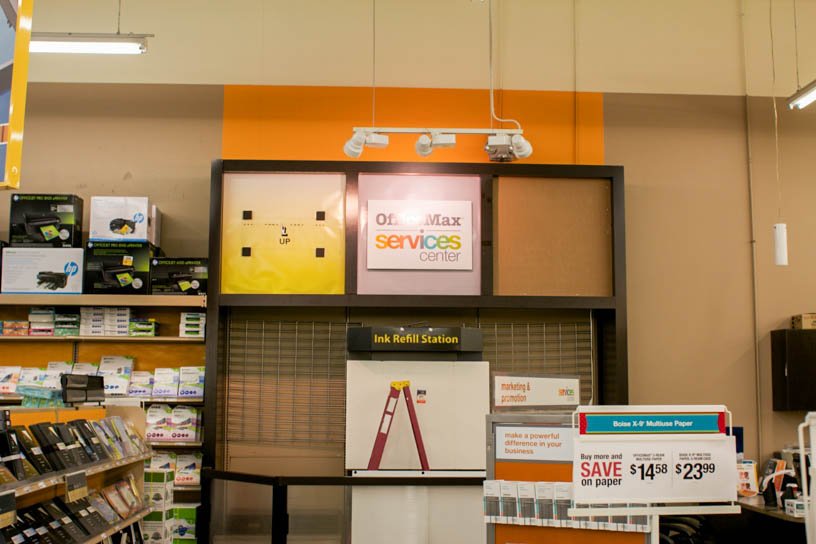
Second Background Board Mounted 
Wire Grid & Foam Core Background 
Foam Core Background 
Finished Product Board 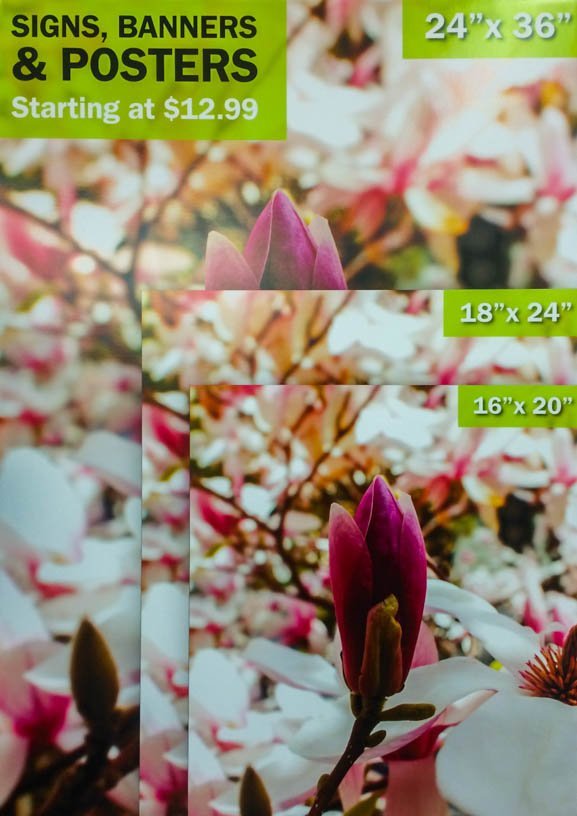
Large Format Sign 
Multi-Piece Canvas Frame Print 
Entire Finished Lower Area 
Detailed steps and more images of this project are available in the “Specialty Printing Display – Development” Creative Journal article.